Amp


Overview
Overview
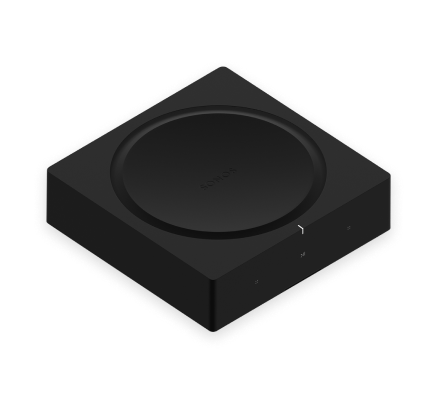
Power passive speakers—
- Amp features a state-of-the-art digital amplifier that can power large or small speakers.
- Connect a passive speaker, turntable, stereo, or outdoor speaker and play the sound on any Sonos speaker.
- Compatible with other Sonos products for multi-zone listening.
- See Sonos Pro system when you’re ready to add Amp.
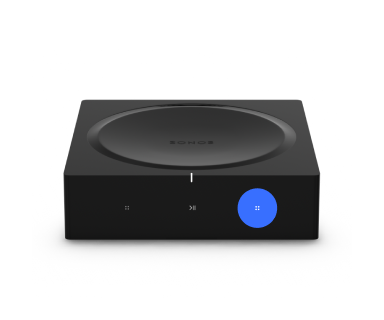
Controls and lights
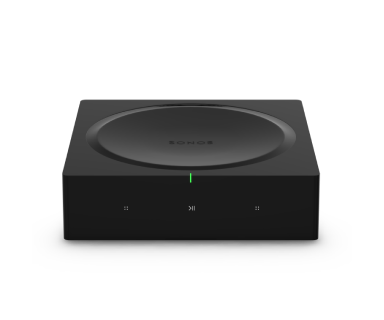 | Status light | Displays the product's connection to WiFi, indicates when the volume is muted, and signals errors. Learn more |
 | Volume control |
Press and hold to quickly change the volume. |
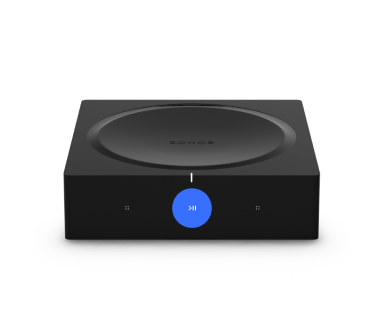 | Play/Pause | Press once to play or pause audio. |
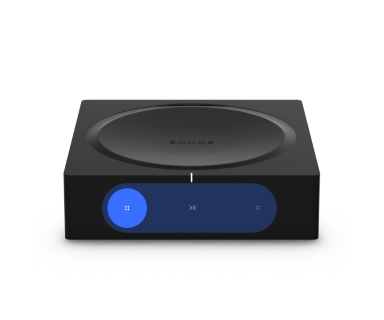 | Next/Previous (Music only) |
Note: You can’t skip forward or go back when listening to a radio station. |
Note: If you don’t want to allow playback or volume adjustments using the speaker touch controls, you can disable them in the Sonos app.
Connector panel
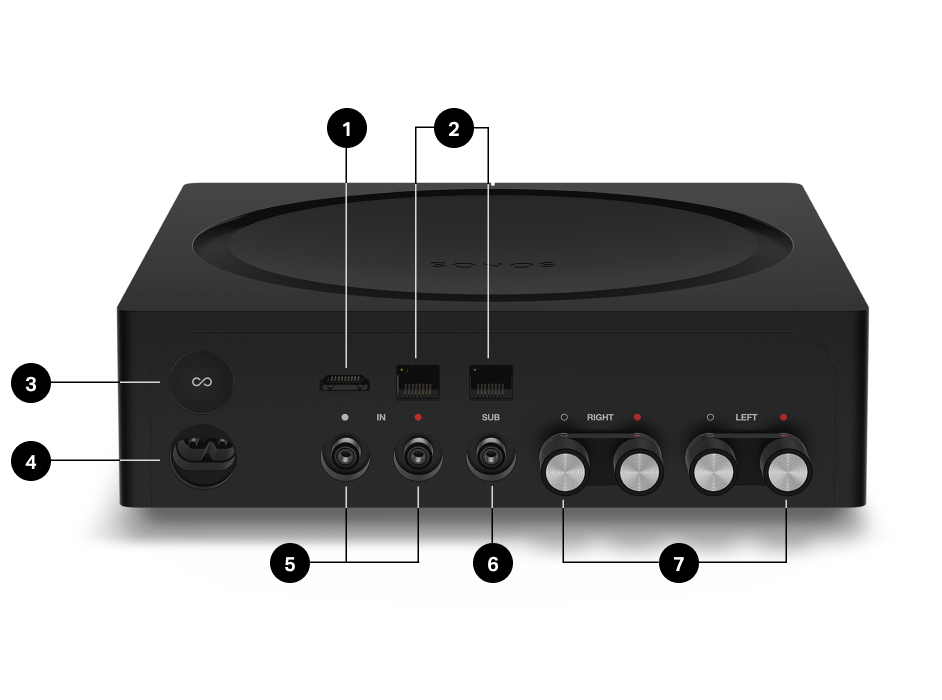
1 | HDMI ARC | Use an HDMI cable to connect Amp to your TV’s HDMI ARC port. |
2 | Ethernet ports | Use an Ethernet cable if you want to connect to a router, computer, or network-attached storage (NAS) device (optional). |
3 | Join button | Press to connect during setup. |
4 | AC power (Mains) port | Use only the supplied power cord (using a third-party power cord will void your warranty). |
5 | Analog audio in | Use a standard RCA audio cable (included) to connect Amp's analog audio inputs to the outputs on another device, like a pre-amplified turntable or portable music player. |
6 | Subwoofer output | Connect a powered subwoofer to this output using a standard RCA cable. The system will detect when a cable is connected to the subwoofer output and adjust the crossover frequency automatically. Note: If you disconnect your subwoofer, make sure to also disconnect the subwoofer’s cable from the Amp output. |
7 | Speaker terminals | Use high-quality speaker wire to connect your speakers to Amp. |
Select a location
You can place Amp just about anywhere—in an electronics rack or on a shelf.
Rack mounted
- Amp mounts in any electronics rack.
- Place two Amps side by side in a 2U rack.
- Place four Amps in a 3U rack.
- When using Amp in a rack mount, we recommend connecting each product directly to a networking switch and disabling WiFi to conserve power and reduce waste heat.
- Do not connect more than four Sonos products via Ethernet to each other in a row or you may experience network instability. Learn more
Placed on a shelf
- Keep 3" / 50 mm (minimum) clearance on all sides and top.
- Place horizontally on a stable and level surface
- Don’t block the touch controls on the front of Amp.
- If using with a TV, don't block the IR sensor, and keep 3" / 50 mm from the TV.
Connect the cables
1 | Make sure the speakers you use are compatible with Amp:
| |
2 | Remove the cap from the banana plug to reveal the connection hole. | |
3 | Insert the stripped end of the speaker wire into the hole, then put the cap back on the banana plug to secure the connection. Note: Connect the red (+) and black (-) terminals from each speaker to the corresponding banana plugs and terminals on Amp. Mismatching of polarities will result in weak central sound and a distorted sense of sound direction. | |
4 | Insert the banana plug into the proper speaker terminal on the back of Amp. | |
5 | Repeat to install the other speaker wires. | |
6 | Connect the power cord and plug in Amp. | |
7 | If you're connecting Amp to a TV, use an HDMI cable to connect from Amp's 's HDMI port to the TV.
When connected, Amp creates two front audio channels and plays TV sound through your non-Sonos speakers. |
Line-in
Connect an audio device, like a projector, CD player, or turntable with a built-in phono preamp, to any Sonos product that has a line-in port (some products, like Era 100 and Era 300, require a line-in adapter—sold separately).
Then in the Sonos app, go to  > Line-In and select the source to start playback. Learn more
Note: Allow Line-In must be enabled in Global Settings[LINK] on the Dashboard. Learn more
Stereo to mono
Amp plays audio in stereo by default. You can change the sound settings for the zone associated with Amp so it plays in two mono channels when playing music.
To change your setting, go to Settings  and select the room that you want to modify. Then go to Sound, select Stereo/Mono, and choose an option.
Specifications
| Feature | Description |
|---|---|
AUDIO |
|
Amplifier | Class-D digital amplifier |
Amplifier power | 125 W/Ch into 8 ohms |
Line-in sources supported | Audio device with analog RCA output or optical output (optical adapter required). TV device with HDMI ARC or optical output (optical adapter required). |
Speaker connections | Banana plugs (2) |
Subwoofer output | Auto-detecting RCA type, adjustable crossover |
NETWORKING | |
Ethernet ports | Dual Ethernet ports can connect Amp to a wired network and allows the connection of additional Sonos products. |
Wireless connectivity | Using Sonos S2: Connects to WiFi network with any 802.11 b/g/n 2.4 GHz broadcast-capable router. |
GENERAL | |
Controls | Touch interface with volume up/down, previous/next song and play/pause. |
Dimensions (H x W x D) | 6.36 x 4.69 x 4.69 in. (161.45 x 119.7 X 119.7 mm) |
Operating temperature | 32° to 104° F (0 to 40° C) |
Package contents | Sonos Amp, 2 banana plugs, AC power cord, and Quickstart Guide |
Power supply | Auto-switching 100 - 240 V ~ 50-60 Hz 2.5A AC universal input |
Product finish | Black |
Status indicator | Displays the product's connection to WiFi, indicates when the volume is muted, and signals errors. |
Storage temperature | -4° to 122° F (-20° to 50° C) |
System requirements | Passive speakers with speaker wire, broadband internet, and Sonos app. |
Weight | 4.6 lbs. (2.1 kg) |
* Specifications subject to change without notice.
Important safety information
- Read these instructions.
- Keep these instructions.
- Heed all warnings.
- Follow all instructions.
- Do not use this apparatus near water.
- Clean only with dry soft cloth. Household cleaners or solvents can damage the finish on your Sonos products.
- Do not block any ventilation openings. Install in accordance with the manufacturer’s instructions.
- Do not install near any heat sources such as radiators, heat registers, stoves, or other apparatus that produce heat.
- Protect the power cable from being walked on or pinched, particularly at plugs, convenience receptacles, and the point where they exit from the apparatus.
- Only use attachments/accessories specified by the manufacturer.
- Unplug this apparatus during lightning storms or when unused for long periods of time.
- This product does not have any user-serviceable parts. Do not open or disassemble or attempt to repair it or replace any components. Refer all servicing to Sonos qualified service personnel. Servicing is required when the apparatus has been damaged in any way, such as power-supply cable or plug is damaged, liquid has been spilled or objects have fallen into the apparatus, the apparatus has been exposed to rain or moisture, does not operate normally, or has been dropped.
- The Mains plug should be readily available to disconnect the equipment.
- Warning: To reduce the risk of fire or electric shock, do not expose this apparatus to rain or moisture.
- Do not expose apparatus to dripping or splashing and do not place objects filled with liquids, such as vases, on the apparatus.